Showing posts with label Sew-Along. Show all posts

Friday, 30 May 2014

Monday, 25 November 2013

Cat Glasses Sweater Re-Vamp

 A few weeks ago Talize had a 50% off sale that unfortunately I couldn't go to because I had to work.
Luckily my sister got me this awesome sweater and a few other things.

 Once I had the sweater in my hot little hands I noticed that it was missing a few buttons. 

 Sad face.

 Then I had a brilliant idea. 

 I have a ridiculous number of buttons in my stash, I was certain I could find a good set to use, and I was right. I bought these awesome cat glasses buttons at Nova in the summer but I didn't have any use for them until now.

 First I removed all of the old buttons except for the top one. I only had six buttons and the sweater required seven, so I decided to leave the top one on. 

 Then I sewed on the new buttons using some buttonhole twist/cobain thread. It's heavy thread that tends to hold up better than the regular stuff does. I find that buttons are always the first thing to fall off, so I make sure I secure them really well.

 And easy peasy lemon squeezy, I have a new awesome sweater that is ready to wear! 

In case you were wondering why the last picture is only a torso shot, I was too lazy too take a proper outfit picture because the camera was set up to photograph my judy (mannequin). Yup, that's how I roll.

Friday, 5 April 2013

April Sew-Along Update I


Sorry for the day late update but this project has been giving me some problems. So this is where I am with this at this point in the game. I have all my pieces cut out, and let me tell you that was really interesting. I have never ever seen a pattern that tells you to cut something out like that first picture shows. It was really weird, you had to have two folds and have the salvages meeting in the middle. It was really awkward to lay out and I had quite the time of it. This fabric has been mildly nightmarish to work with too, it's all slippery and pulls, and I am currently attempting to finish the seams before I start sewing the pieces together. It isn't going that smoothly so far, I might have to get new needles for my serger. I'll see how things go over the next week and keep you guys posted!  

Thursday, 28 March 2013

March Sew-Along Final Update


What I Wore:
Dress: Made by me from this pattern
Tights: Ardene
Shoes: Payless

Here is the finished product for the March Sew-Along! There was one less update than usual, and I apologize about that. Next month will be  little more on track. The toughest section between the last update and the final product were the sleeves. It wasn't even setting them into the dress, but preparing the cuffs. For some reason I found that section to be really difficult. Other than that it was a pretty happy pattern to work with. I wore this dress to work yesterday and it got rave reviews. I think it turned out really well, one of the best things I have made in the last while. This month seems to be the month of winning things because I found out this morning that I won a free pair of shoes from B.A.I.T. footwear thanks to  Cut Out + Keep. If you haven't checked out either of these websites I really think you should! I can't decided which pair of shoes I want from B.A.I.T. there are two in the running. It is really hard to decide because all of their shoes are lovely. Not much else going on around here so I am just going to share next month's project with you.


I am doing McCall's pattern M6604 option D. I am pretty excited about this one, I absolutely love the fabric (I got it at JoAnn's in Florida).

Thursday, 14 March 2013

March Sew-Along Update II

Last week I left off having sewn the front and back of the bodice together. Here is what I have done since then.


I spent this week sewing the skirt together. First I sewed in the pockets, then I attached all the skirt pieces together, folded and basted the pleats and attached the skirt to the bodice. I wanted to be a little bit further along by now but I was having a few of those "I want to sew but shouldn't be because everything is getting messed up" days this week. Anywho that's where I am right now, hopefully by next week I will have the zipper in and started on the sleeves/collar.  

Thursday, 7 March 2013

March Sew-Along Update I

Since there were no objections this month I am only going to do short progress updates. I will post a few pictured of where I am at, but no step-by-step instructions. This is the pattern I am following in case you missed it in the final update for the February project. So here's where I am at so far. 

My pattern pieces all cut out and my notches marked (which took forever!).

The front of the bodice so far.

The back so far.

 A glimpse of the lining which has been basted in.

That's it for now. next week I am going to start working on the skirt. Stay tuned for more!

Thursday, 28 February 2013

February Sew-Along Final Update

Last I left off with having the zipper sewn in at the back of the dress. Here is the exciting conclusion of February's project! (If you want to see the finished product and not read through the last few steps just scroll to the bottom of the post.)


18. The final major section to work on are the sleeves. The first thing I did for these was to make two rows of basting stitches on the sleeves (in between the notches). 


19. Next I pinned and stitched the dart s in the sleeves. It is always really important to make sure that your darts are the same length. I measured mine against the pattern and each other to make sure they were all the same. I do this for darts everywhere on a garment. It is really noticeable (to me at least) when they aren't the same length. Another trick with darts is to tie off the pointed end instead of back stitching. It makes them less bulky and helps to avoid the "pointy" dart look. 


20. Once the darts were even I pressed them downwards. Afterwards I pinned the underarm seams together matching the top,bottom and notches. I then went to the machine and sewed them together. I checked that everything was lined up and then pressed open the seam with the iron.


21. The sleeve was then ready to be set into the armhole. This step is one of the trickier ones and I find it is really important to have your notches marked correctly or else the sleeves won't fit properly. I matched the underarm seams, the top and notches. Once these were secure in place with pins I gathered the sleeve in to fit. This sleeve was not meant to look gathered so you have to be very careful not to make puckers when pulling them in. Once I was satisfied with the fit I sewed them in place at the machine.    


22. The last step was to pin up the hem for the sleeves and the bottom of the dress. The sleeve hem was already measured out properly on the pattern (I just made sure they wouldn't be too short on my oddly long arms). The skirt hem though I had to measure out on my mannequin as it was rather uneven. And there you have it folks, another garment completed! 

Here are pictures of the finished product:


What I Wore:
Dress: Made By Me (see pattern here)
Belt: Fairweather
Tights: Ardene
Shoes: Spring

I wore the finished product out to the theatre. We went to see The Last Romance with Jamie Farr (who was amazing) at Theatre Aquarius. It was a very interesting an entertaining show, although the ending was a bit bittersweet. I am pretty please with how the dress turned out, in my opinion it looks better with the belt though. Also these tights are pretty sweet, sometimes it is hit or miss if pairs from Ardene will fit, but these ones were perfect. I also love these shoes and I don't get to wear them often enough. I can't wear them to work because my feet would be a mess, so it is nice to be able to wear them out somewhere. I know this is a long post already, but here is the last thing I promise. The project for next month is:


I am going to make Simplicity pattern 1775 view B (the one with sleeves). The black will be the sleeves and belt and the pattern is the rest of the dress. I think this time around I might just post update pictures with a brief description of what I have done. It is a lot of work doing the step-by-step and I am pretty sure no one is actually sewing these items along with me. If anyone objects let me know and I will post the step-by-step still. If not, I will just post the progress shots and I am always happy to answer questions if someone decides to sew it themselves. Thanks for reading!

Monday, 25 February 2013

Winter Blues


What I Wore:
Dress: H&M
Shirt: Smart Set
Leggings: Suzy Shier
Socks: Payless
Boots: ModCloth

I have been enjoying pairing collared shirts with dresses and sweaters lately, anything to liven up my winter wardrobe. It also keeps me toasty warm in our house and at work. It's around this tie of year that I start to get sick of winter. The February blahs I guess. This year hasn't been as bad as others considering we  have had a relatively mild winter. I think I just start to miss the sunshine, February is so grey and white, it's boring. The cold doesn't bother me so much, I like getting all bundled up in socks and sweaters, but the lack of sunshine really gets to me. It was nice to be able to take a break this year and go to Florida, although it was hard coming back to the icky weather again. I can totally sea why there are a lot of people in Canada who live here during the summer, but go South for the winter (Snowbirds as we call them after that Anne Murray song). At least it isn't super hot out, I prefer the cold to heat. Does anyone else get the winter blahs?  

I've got a pretty good week ahead of me to look forward to, which is nice at this time of year. Yesterday was Colin's birthday so we are going to go to his sister's tonight for dinner. Wednesday we are going to visit with some friends that live out of town. We are going to do some shopping and I am going to give them their souvenirs from the Florida trip. I am hoping to be finished a dress I am working on right now by then so that I can wear it for the visit. Thursday will be my final post for the February Sew-Along where I reveal the finished product and announce next month's project. I am really excited for March's project, I can't wait to share it with you! Saturday I have to go to an 8am meeting at work (boourns) but afterwards we are going to go out to breakfast which will be nice. All in all not a bad week. Do you guys have any exciting plans for this week?

Thursday, 21 February 2013

February Sew-Along Update III

Last week I left off on step 11 with having sewn the front and back pieces together. Here are the next few steps.


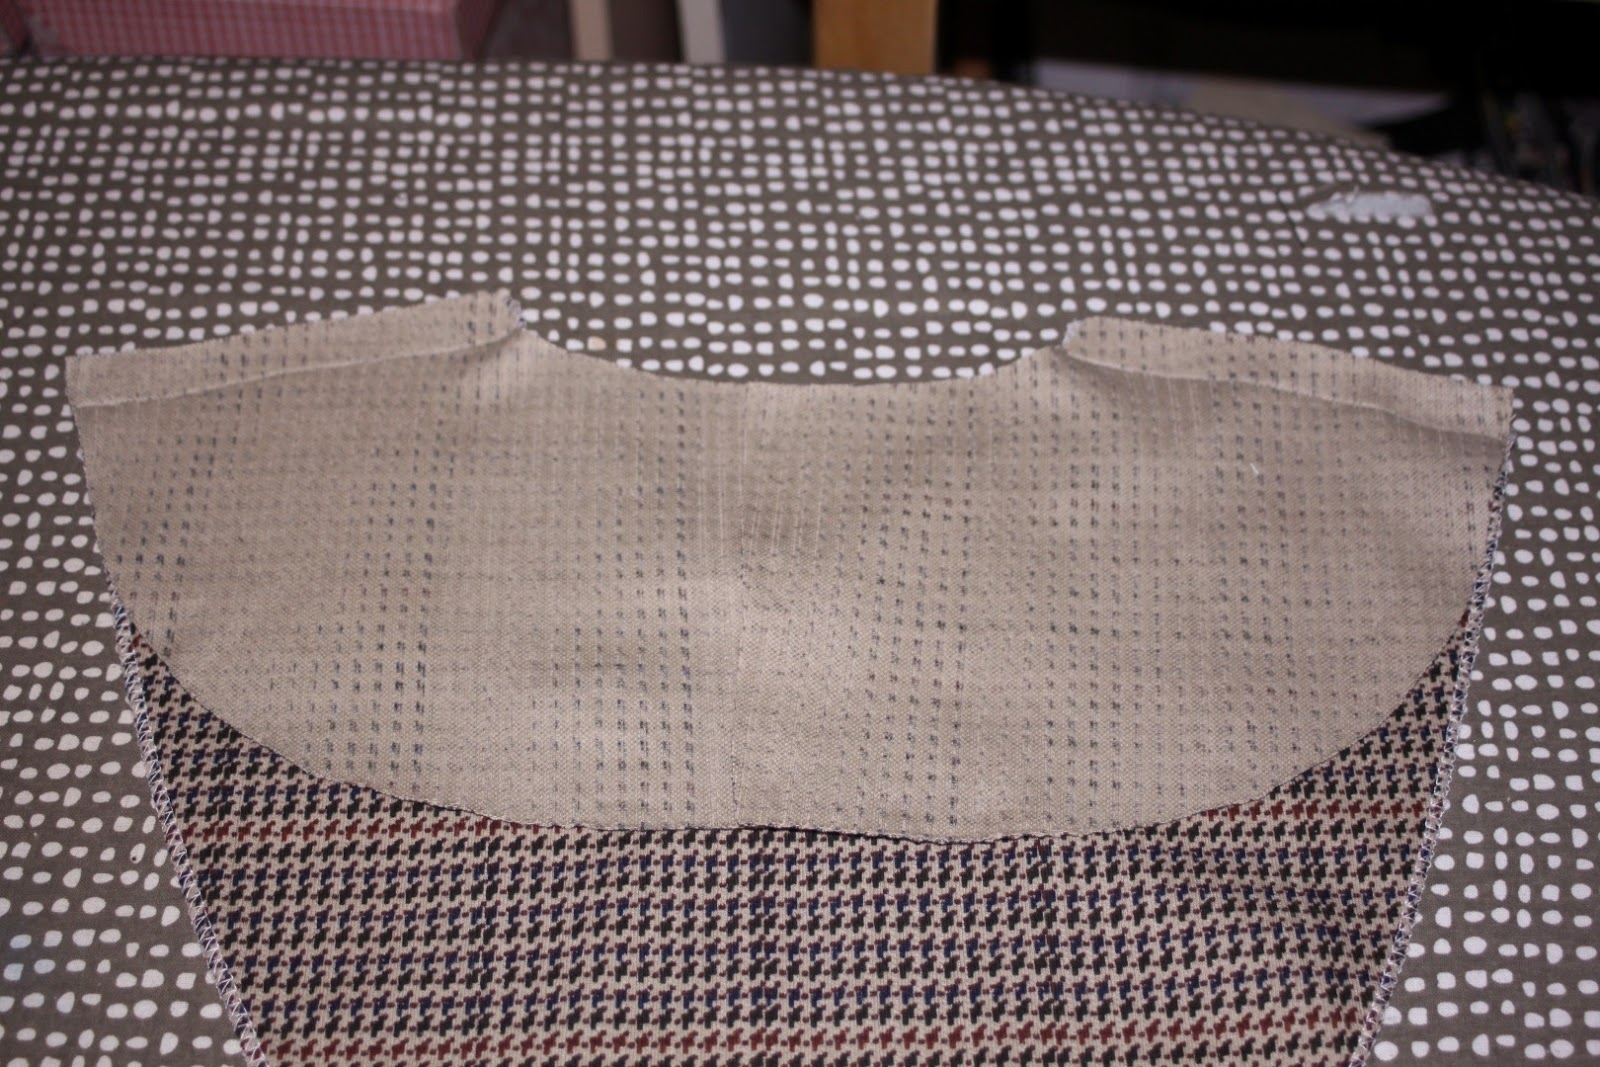
12. The first step of the day was to pin the back facing to the front facing. In the pattern is recommended using lining, but because of the fabric I used I thought it would be better to face it with the same fabric.  I pinned to back facings to the front at the shoulders and then sewed them together. 


13. Next I surged around all the edges. Then I folded the outside edge down 1/4" and zig zag stitched it down. 


14. Once the facing was ready to go I pinned it to the dress at the neck, matching the shoulder seams and centre front. I sewed it together and clipped the curved edge. Then I pressed up the seam allowance and under-stitched it.  It is kind of hard to see, but the upper row of stitching is where I attached the seam to the facing. This will ensure that the facing doesn't roll out and makes it so you can't see it from the outside. 


15. This next step is a little fussy, but I always find working with facings to be frustrating. I turned the facing to the inside of the dress. Then I lined it up to cover the seams on the inside. I pinned it in place from the outside, making sure it wasn't pulling or puckering. Once I was satisfied with its placement I sewed it down from the outside, stitching in between the seams. This is called "stitching in the ditch."

16. This step is pretty simple, I pinned the two back pieces together from the hem to the marked notch (where the double pins are). I went to the machine and sewed it together.  


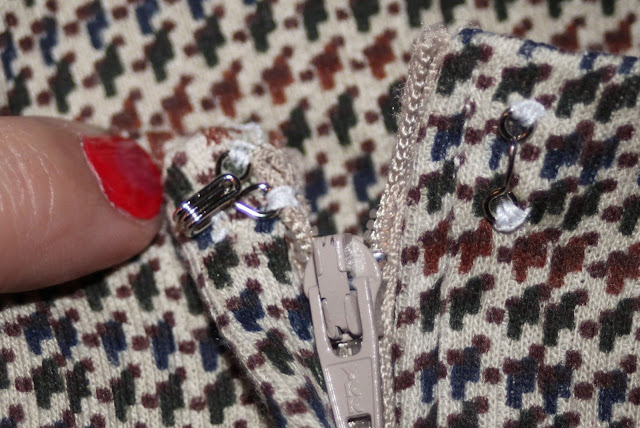
17. Now it is time to put in the zipper. This one is a  little different than a regular zipper because the left side folds over the right. It is called a lap zipper. The pictures run in order of the steps, so if you need to follow along you can go back up to the top of this section. First I folded and ironed the back right side under by 1/2". Then I folded and ironed the left side under 5/8". I took my zipper and pinned it to the right side. I made sure it was in place then sewed it on the machine. This next part was a bit tricky so go slowly with it. I took the left side and placed it over the right, overlapping it by 1/8" (just covering the stitches from securing the zipper). I pinned it in place and then basted the left half of the zipper. *Tip* when basting use a contrasting colour that is easy to see. I double checked that it was in place, sewed it on the machine and then unpicked my basting stitches. Last but not least I sewed a hook and bar in at the top so that it will stay in place when I am wearing it. 

That's where I am going to leave it for today. All that's left to finish up are the sleeves and hem  Come back next Thursday for the exciting conclusion to the February project!